
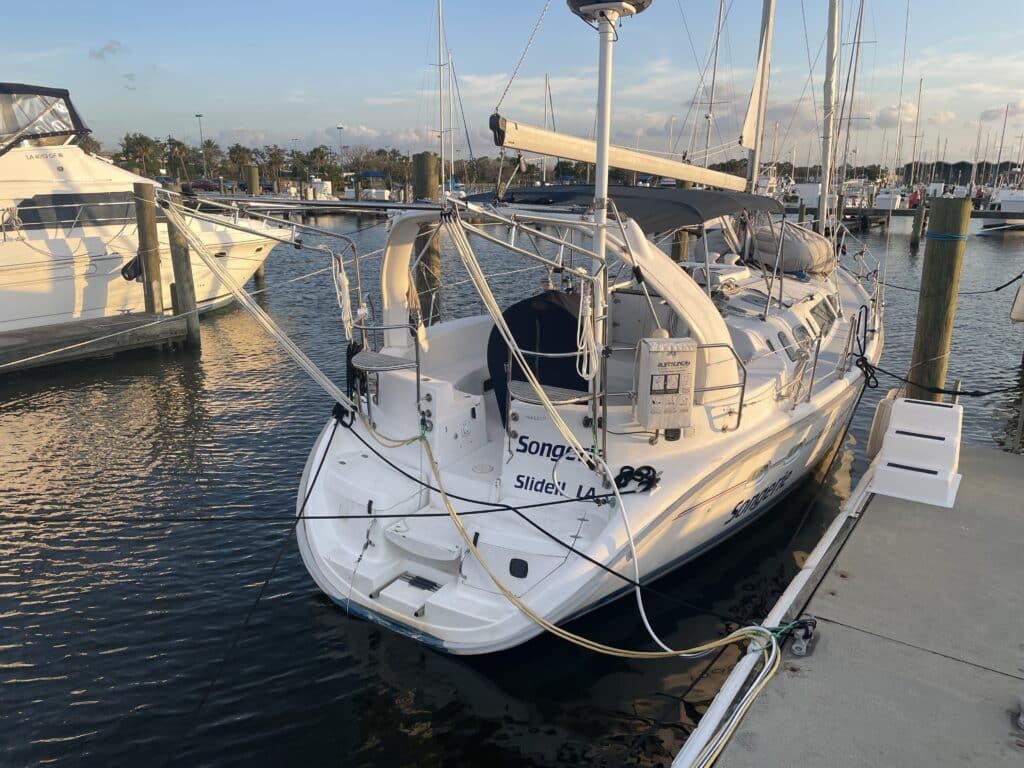
How to Install Dinghy Davits on Your Stern Rail
Martek dinghy davits bolt on with basic tools, so you can install them yourself. This walkthrough follows our MD Series installation instructions for the MD-370, MD-600 and MD-600EXT. Read the full instructions that come with your davits before you start, especially the safety warnings.
What you’ll need
- Safety glasses and rubber gloves
- Electric drill with ¼-inch and 5/16-inch bits
- 7/16-inch socket, ratchet and wrench
- Level and measuring tape
- Masking tape and a pencil
- Marine adhesive sealant and clean rags
Before you drill
- Check the load. The MD-370 set carries 370 lbs total (185 lbs per arm). The MD-600 and MD-600EXT carry 600 lbs total (300 lbs per arm). That includes the dinghy, motor, fuel and gear.
- Place the arms. Mount each arm within about 6 inches of the dinghy’s bow and stern lift points, on a transverse (port-to-starboard) section of the stern rail. Fore-and-aft rail sections, like the sides of a stern rail seat, need extra reinforcement, so ask us first.
- Check the rail. Push and pull the stern rail. If it moves, plan to fit Rail Support Arms before you load the davits.
- Check access. Make sure you can reach under the deck or behind the transom where the lower mounts go, so you can fit the backing plates.
Step-by-step installation
- Choose where the rail mount will sit on the stern rail and where the lower mount will go on the toe or cap rail, deck or transom. Watch for stanchions and other gear.
- Tape the lower mount to the davit arm temporarily, and set aside its backing plate and fasteners.
- Fit the rail mount to the upper half of the davit arm, above the top horizontal brace, and clamp it to the stern rail loosely so the arm can still slide.
- Use a level to set the arm vertical, fore-and-aft and side-to-side.
- Cover the surface under the lower mount base plate with masking tape and mark the hole positions.
- Drill the holes as close to perpendicular as you can so the backing plate fits. Seal any exposed core so it can’t absorb water, then test-fit the base plate, backing plate and fasteners.
- Remove the tape and prepare the surfaces as your sealant’s instructions say.
- Thread the lower mount’s rod end bolt fully into the davit arm, tighten the jam nut, and leave no more than one or two threads showing. Never use this bolt to adjust height.
- Bed the whole base plate in sealant so a little squeezes out on every side as you tighten. Fit the backing plate, tighten the fasteners and clean off the excess.
- Tighten the rail mount fasteners until the arm is held firmly. Don’t over-tighten, or you can damage the rail blocks.
- Fit the stabilizing strut: hold it across both arms, mark and drill the holes, then bolt it on.
- Wipe the stainless down with a stainless polish or protectant.
Before you lift the dinghy
- Push and pull firmly on each arm in every direction. You should see no movement in the arm or the stern rail. If anything moves, add bracing before you use the davits.
- Use only the supplied backing plates, hex-head bolts and nylon-insert locknuts. Never use screws.
- Rig the lifting points low and inside the dinghy, never on removable floorboards or exterior D-rings.
- Pull the drain plug every time you lift the dinghy.
- Restrain the dinghy so it can’t swing, using the lifting lines or ratchet tie downs.
- Connect the davits to your boat’s bonding system.
Activate your warranty
Martek davits carry a two-year parts warranty. To activate it, email three photos of the finished installation (port, starboard and aft views) to [email protected] within 90 days of purchase. See the limited warranty for details.
Need help?
Not sure about your stern rail or mounting surface? Send us photos and measurements and we’ll recommend the right setup. Contact us or call (727) 412-1002.